


![]()
![]()
![]()
![]()
![]()
![]()
![]()
![]()
![]()
![]()
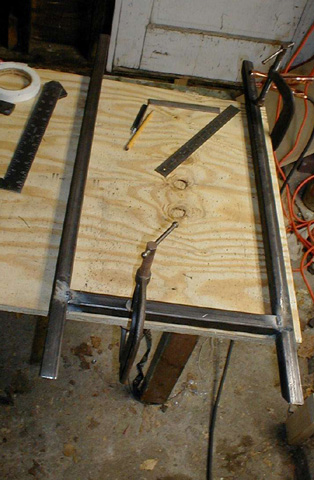
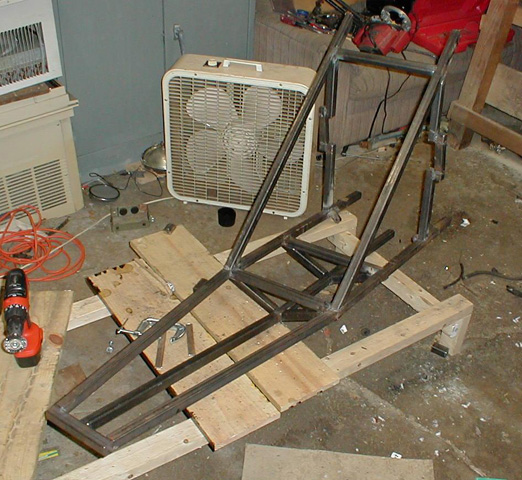
- Update 12/17/02 -
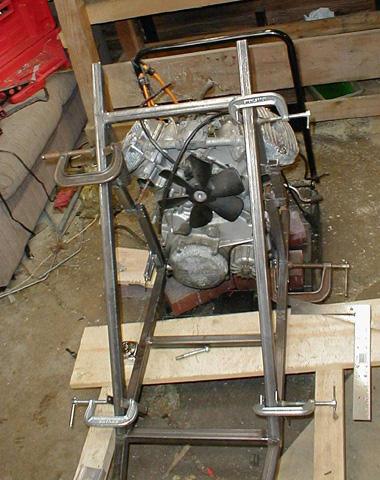
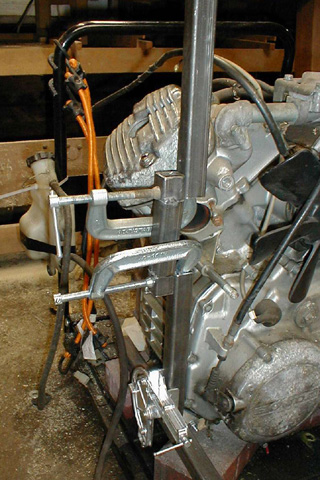
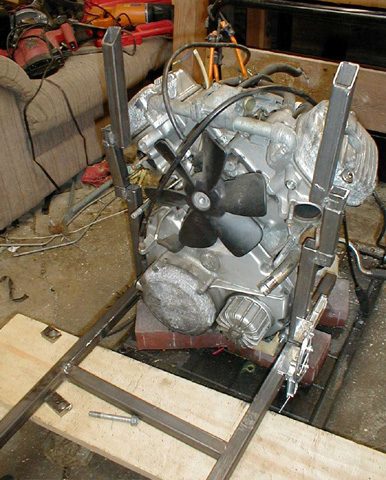
Here the first piece of the rear of the frame has been cut and mounted, it is held up against the engine in place to check sizing and positioning.
After being tack welded. Note the engine mounting points just above and below the exhaust port.
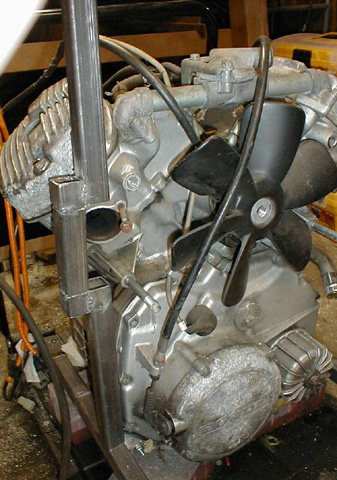
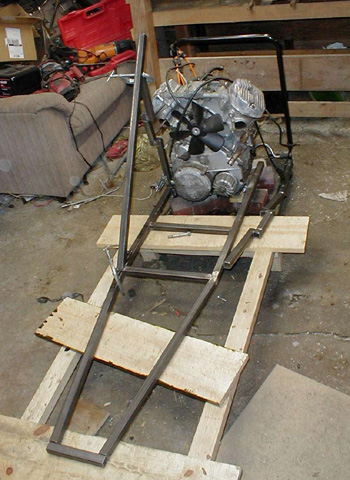
The second piece is made as a mirror image of the first, one for the left and one for the right side. You may wonder about the structure here, the outdented part goes around the exhaust of the engine, this is structurally weaker of coars, but this is where the frame mounts to the engine, both above and below this outdented part, so the engine is more the structural component than this piece of the frame is.
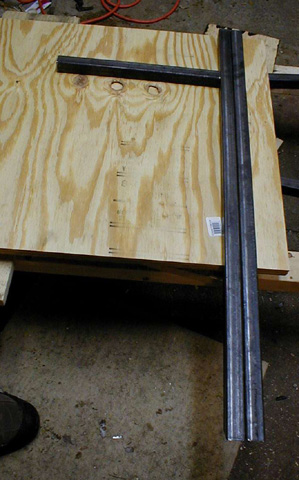
Held side by side for close comparison
Mounted onto the frame, but not yet welded. You can see the exhaust ports here.
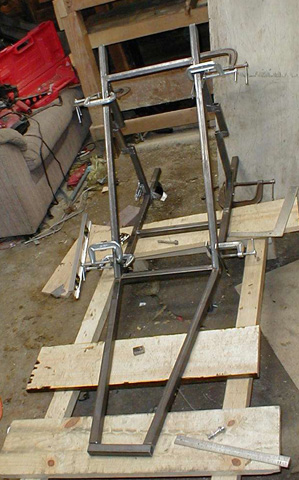
The first angle piece is mounted. This piece is 45º to the horizontal piece of the frame. The juction was wire brushed to prepare for welding.
After making sure that side angled piece is the appropriate size, it is removed and the other half is made, along with the horizontal bar.
Here the horizontal bar and the side pieces are held in place and then tack welded.
Here the frontal angled piece is held onto the frame, all distances and angles are confirmed.
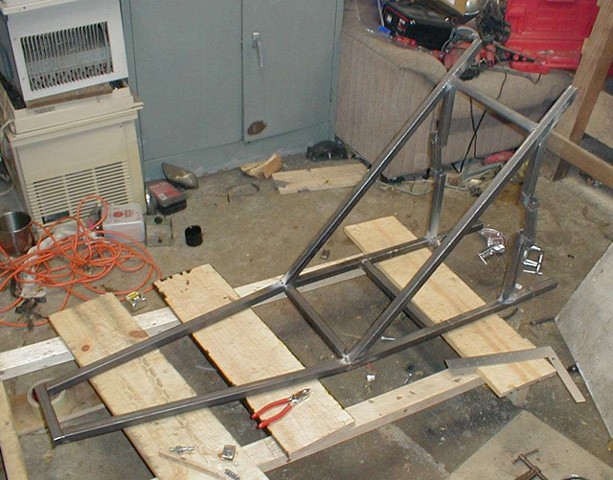
The engine is removed and the piece is tack welded to the frame after verifying measurements once again.
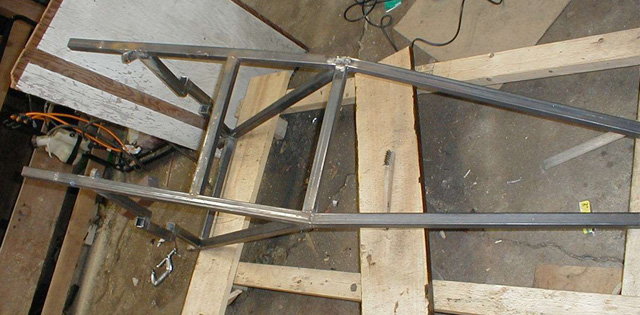
The rear piece tack welding completed!
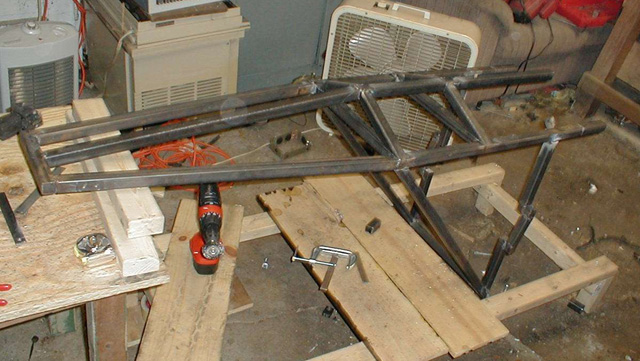
The frame is flipped over and cleaned, ready for the bottom piece.
The central strut is made and mounted.
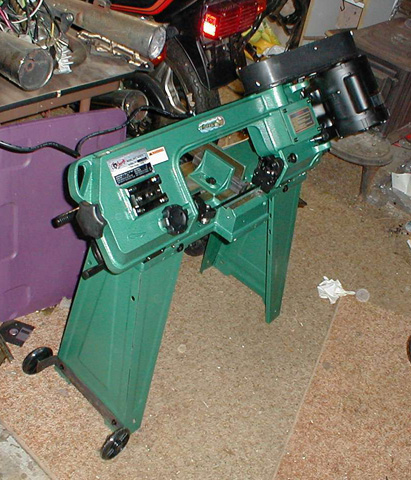
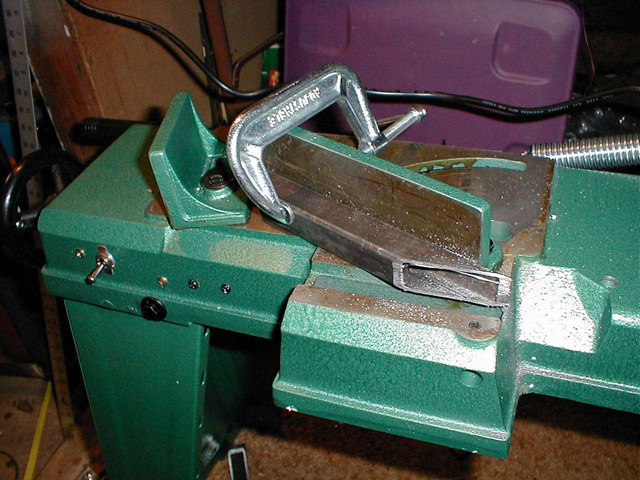
At this point I purchased a new Bandsaw form http://www.grizzly.com/
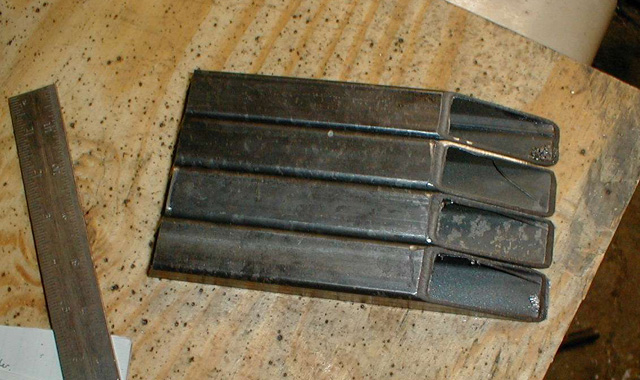
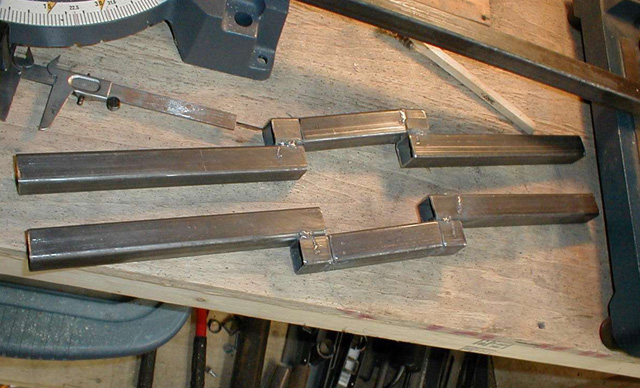
The first of the four pieces for the bottom.
The four pieces completed.
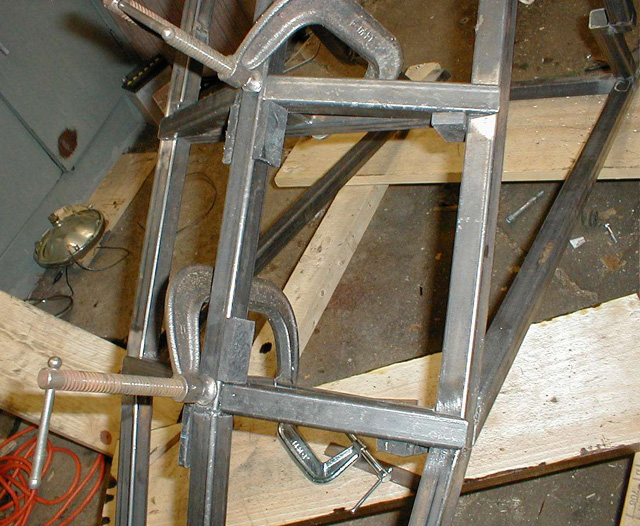
Held onto the frame, all dimensions and angles are fiddled with and checked and rechecked. This is always the fun part, you move one piece just a bit, and all the rest moves... Accidently kicking the frame when you step over it doesnt help much either!
A closer view of some of the jigging.
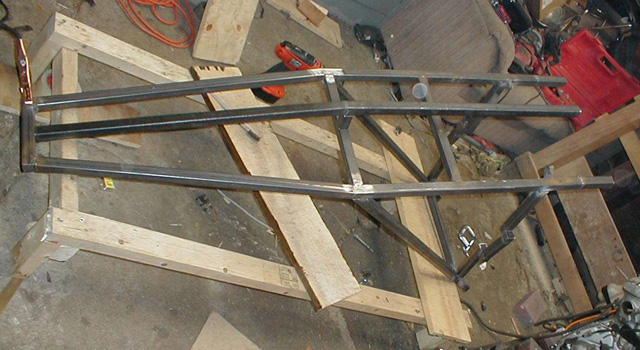
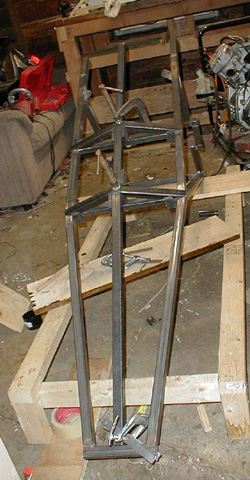
The completed bottom piece tack welded, but still upside down.
Here it is, the frame bottom and frame rear front are completed. Check back soon for more updates! Matus - Back to Status - To Next Update - |
![]()
![]()
![]()
 \
\