


![]()
![]()
![]()
![]()
![]()
![]()
![]()
![]()
![]()
![]()
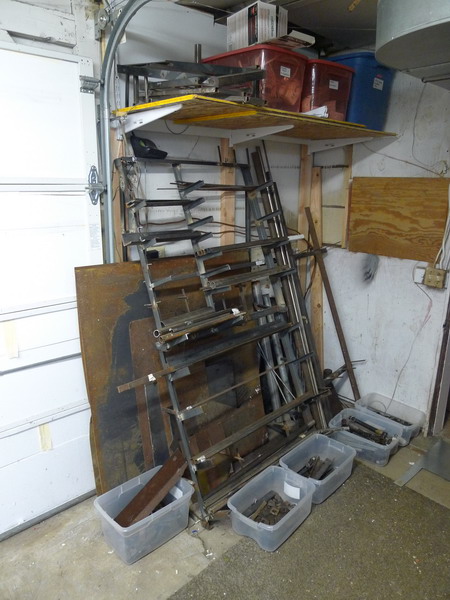
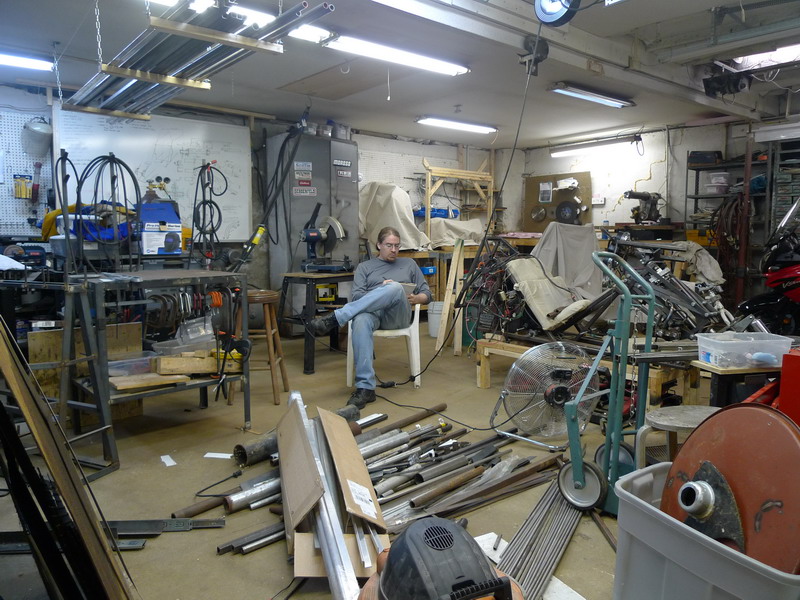
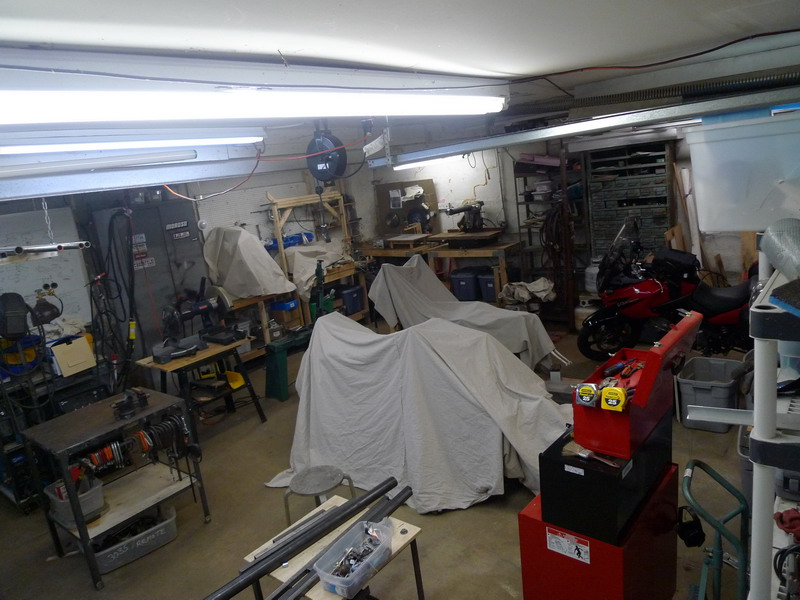
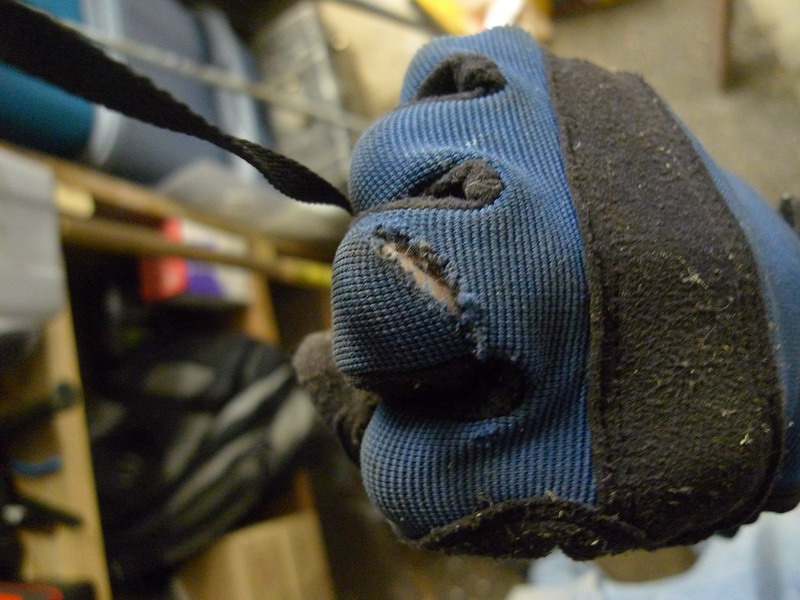
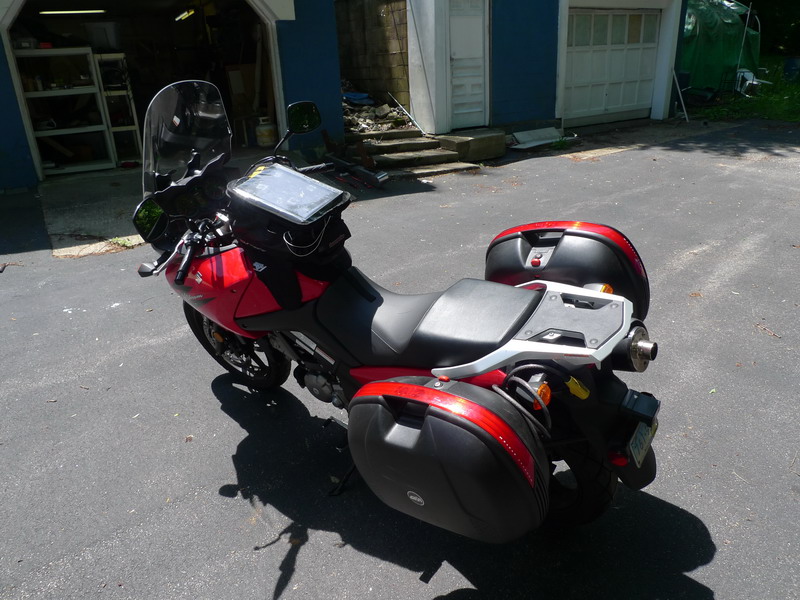
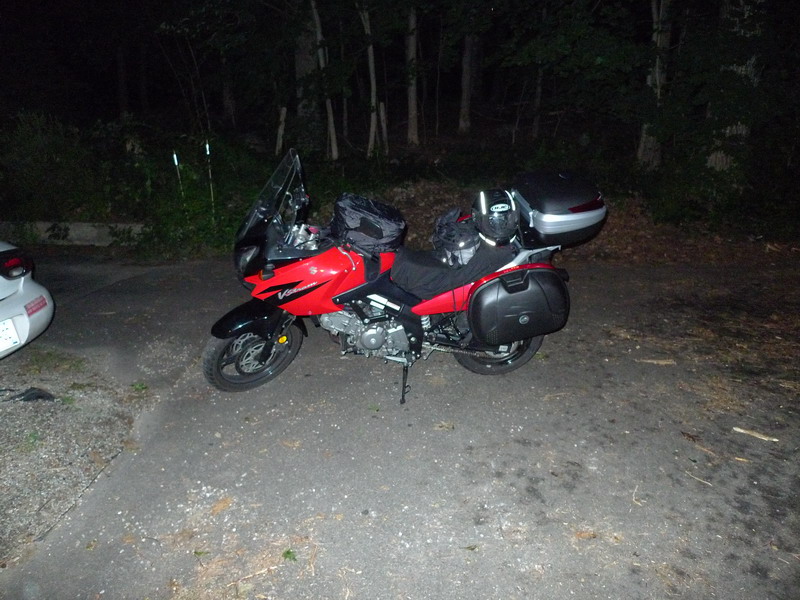
Quite alot has gone on since the last update, including my involvement in a major motorcycle crash =/ First, the new steel rack I made And here I am working away in the workshop The workshop nice and quiet Compelling piece of evidence showing why you should wear safety gloves! This was from my angle grinder with a cut-off blade, that would have made a pretty serious cut without the textile and leather of the glove. In this case, it did not even break the skin. I spent a good deal of time modifying my V-Strom preparing for a trip to Chicago form Connecticut, about 1,000 miles. Here is the V-Strom with a laptop/GPS tank mounted touch screen and the two Givi side cases, and a tall Givi Windscreen The V-Strom ready for the trip, including now a Givi Top case with integrated brake lights, among many other modifications
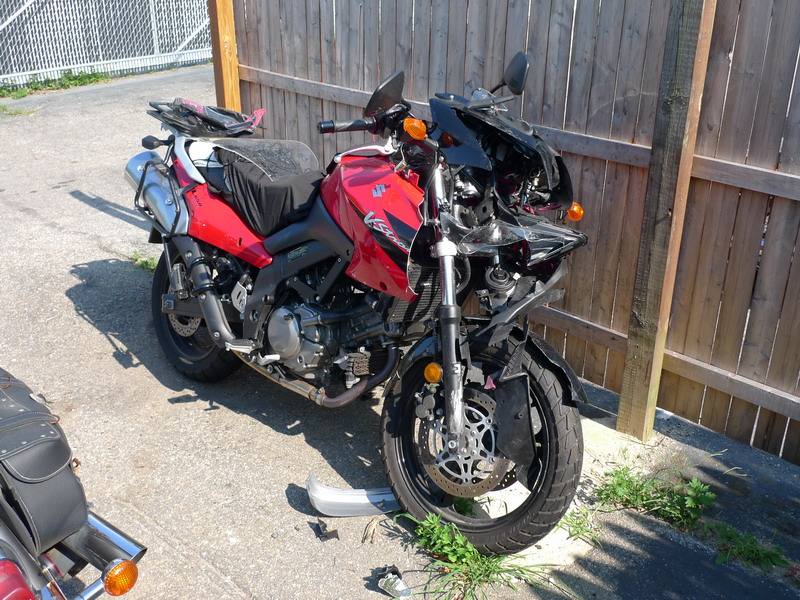
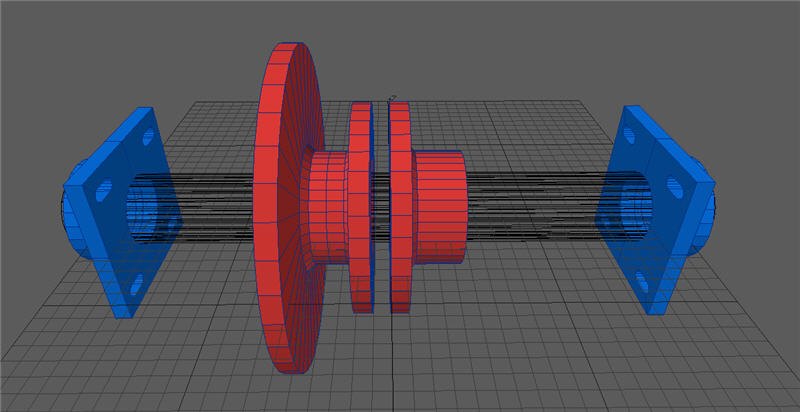
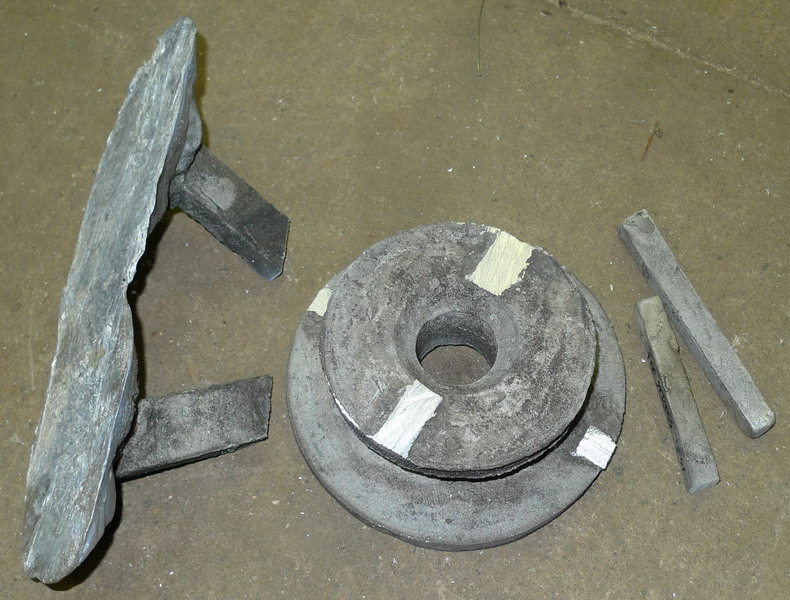
Not more than an hour later, and less than 100 miles - this happened I T-Boned a car doing about 30mph at an intersection, I hit the car so hard it rotated about 90 degrees. My V-Strom stopped dead, it did not flip over the car, which luckily was a low sedan and not an SUV. I was thrown over the car getting a perpexling set of injuries, I was pretty badly bruised but nothing was broken. I had quite alot of safety gear on, and hit my head hard enough to lose conscioussness. I don't even recall the actual accident. My safety gear helped alot, and my modifications did as well (I think the added seat cushion prevented more serious injuries, and the tank bag acted like a hard air bag, absorbing some kinetic energy.) I've been riding for almost 8 years and have never even dropped my bike, and the circumstances of this accident were extra ordinary - so I do not consider this a testament to motorcycling being unsafe. Within two weeks I had collected my insurance check and got another V-Strom, though this time it was the 1,000 CC version =) It took about 3 weeks to be mostly back to normal, and now about 6 weeks later I still have a sore knee and ankle. Anyway, back to the Akira Bike project! The previous entry detailed the construction of the two spindle mounts, in this entry, I worked on the two opposing hub mounts. The Blue parts are the spindle mounts, the Red are the opposing hubs completed in this update.
First, I had to cast the new hubs, and first was the smaller of the two. Here is the Kiln in operation
And here is a video of the pour
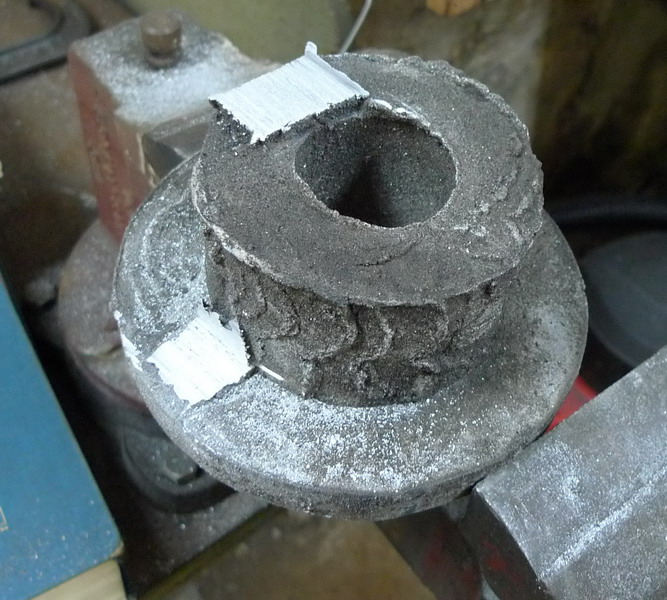
The result of the pour, I make these parts oversize and then machine them down to the final specs
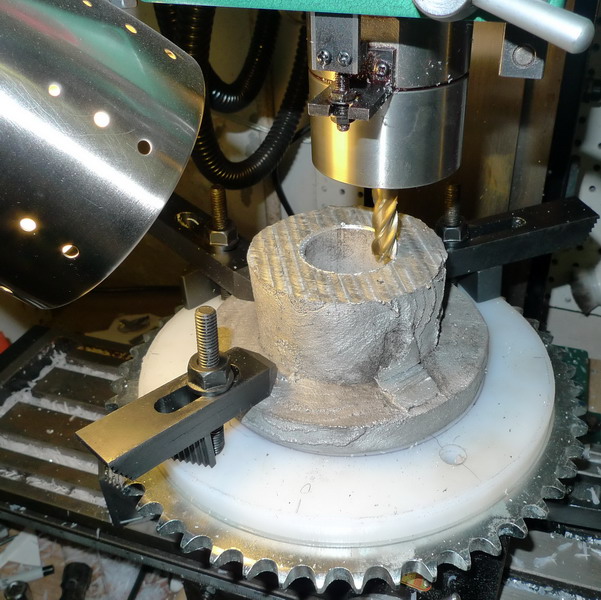
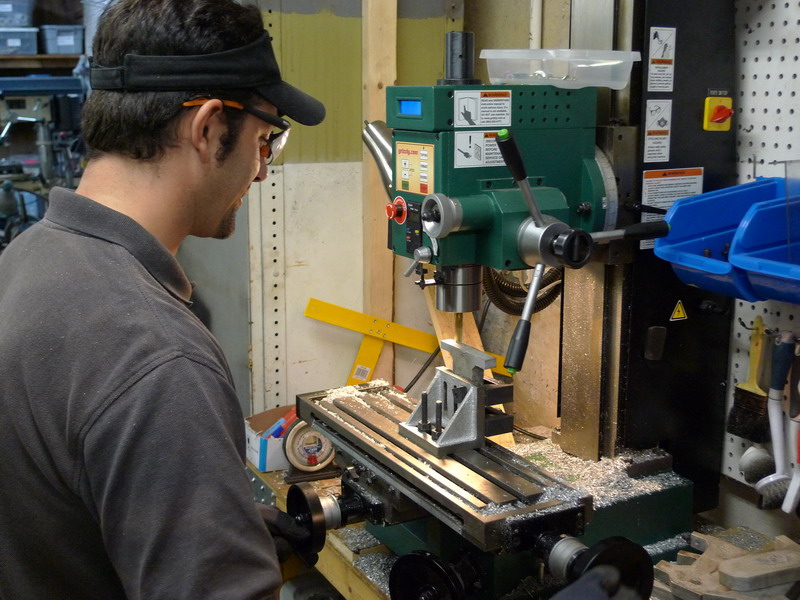
After some cleaning Machining commences
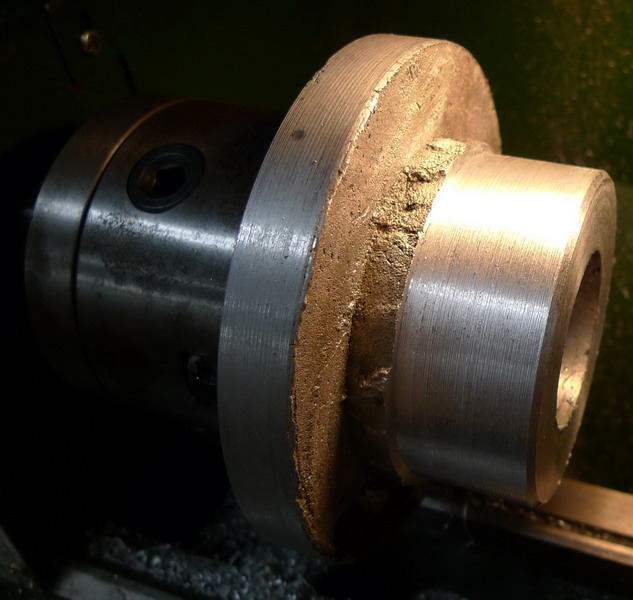
Still more machining, now on the lathe
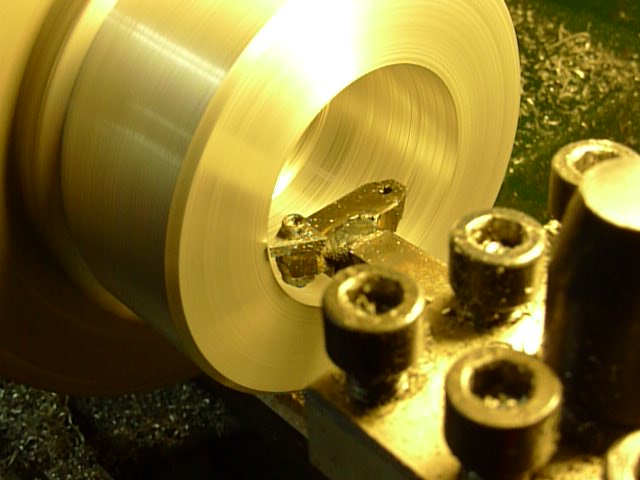
boring out the inside of the hub mount on the lathe
Checking to see if spindle fits snugly in the mount. I am using a large diameter spindle for reasons you will see later in the build
A closeup of the internal boring
Video of lathing action
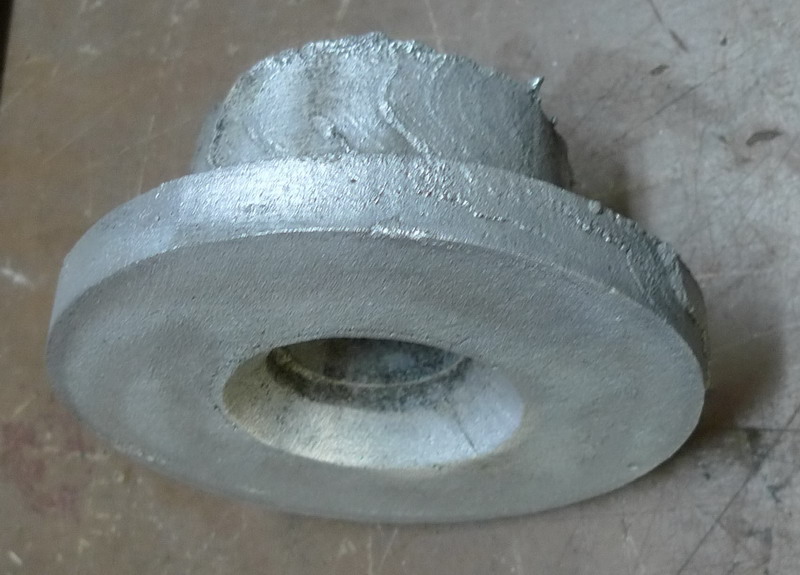
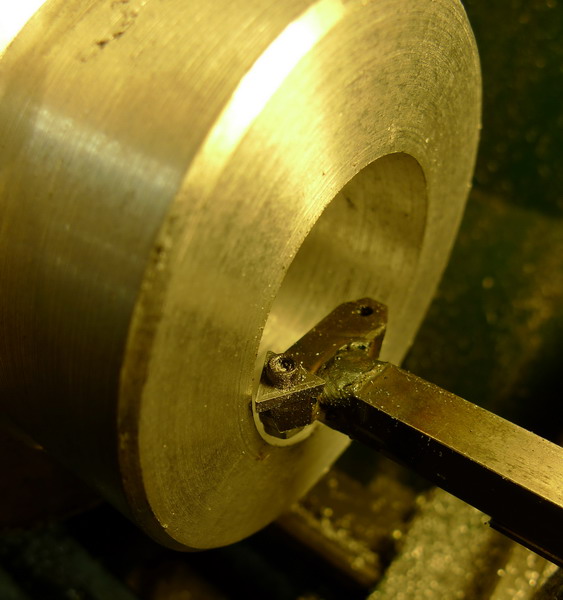
The finished hub mount, beautiful!
Now onto the large hub, this was the largest piece I've cast yet, and I needed someones help to pour two full crucibles simaltaneously
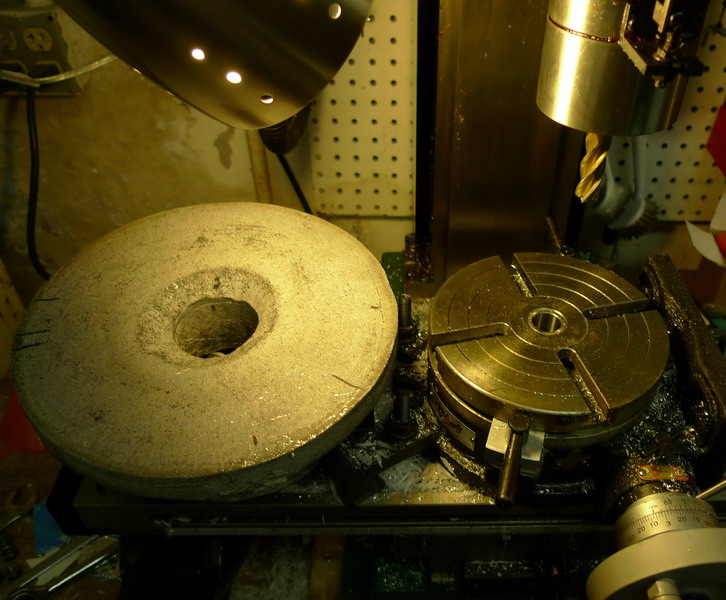
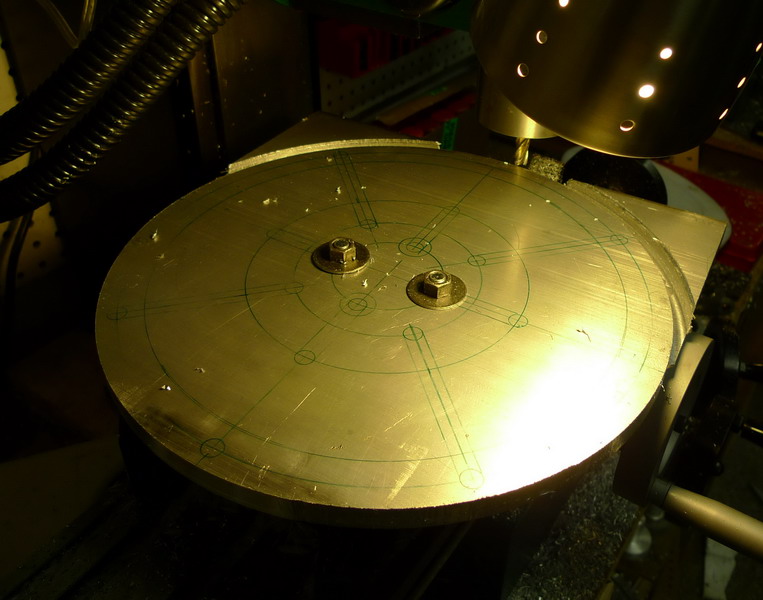
Getting ready for the milling machine...uh, that's not gonna fit on my rotary table. Time to improvise
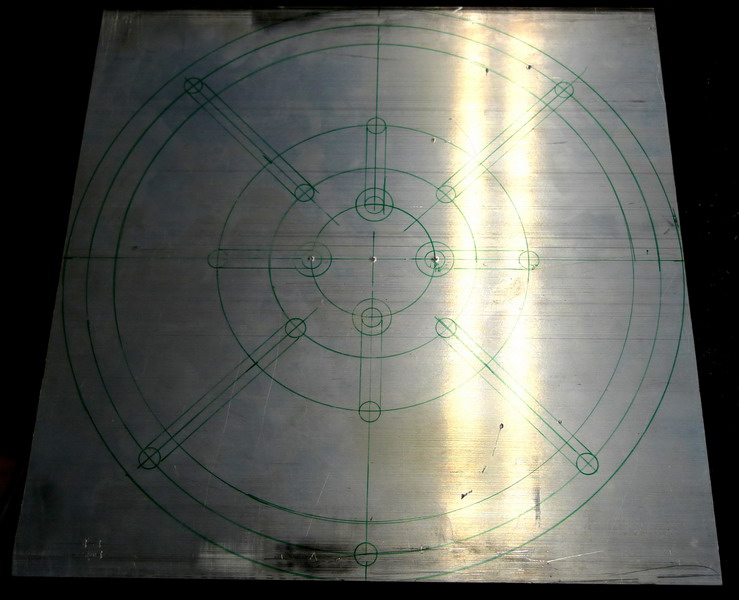
A large square aluminum plate comes in handy, makred and ready for milling, this will become a larger mount for the rotary table.
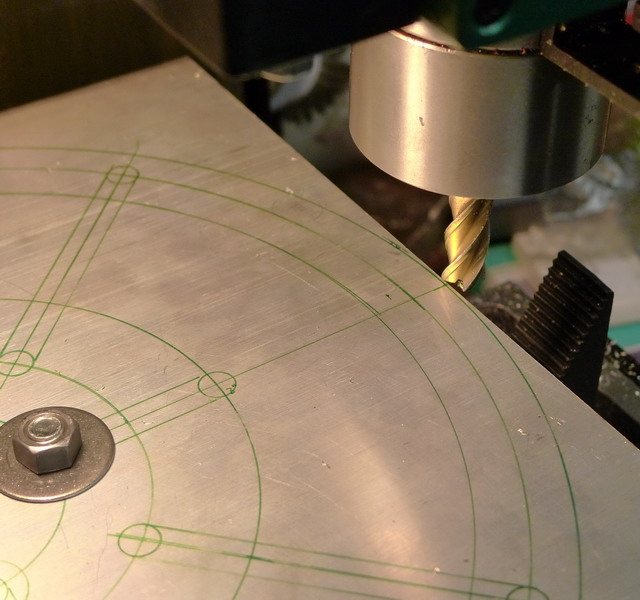
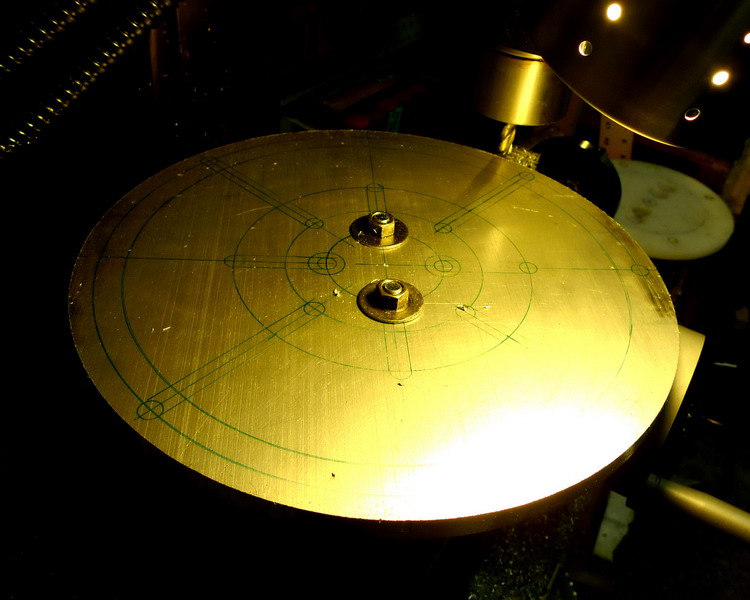
Milling starts
A LOOOONG time later. Hours. You can only mill small fractions of an inch at a time.
Finally the whole disc is cut out.
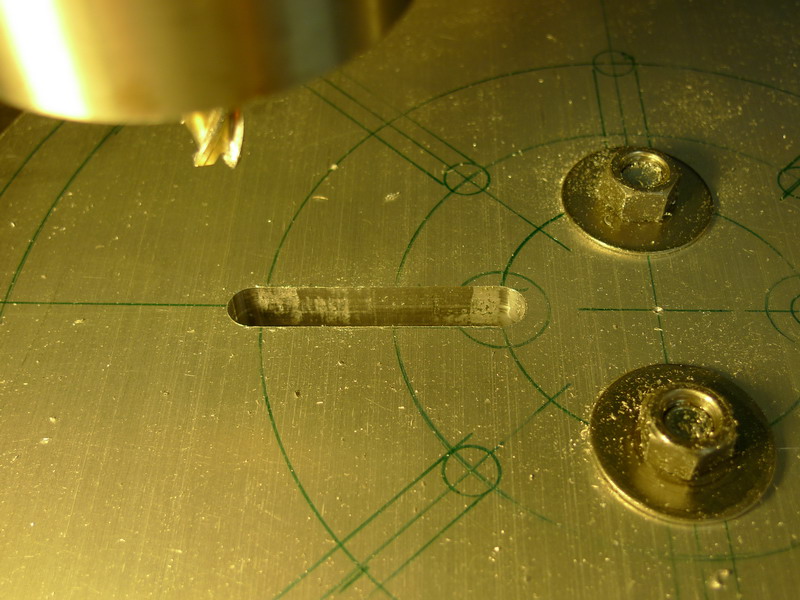
Now onto the grooves so I can bolt clamps to whatever part I may be working on
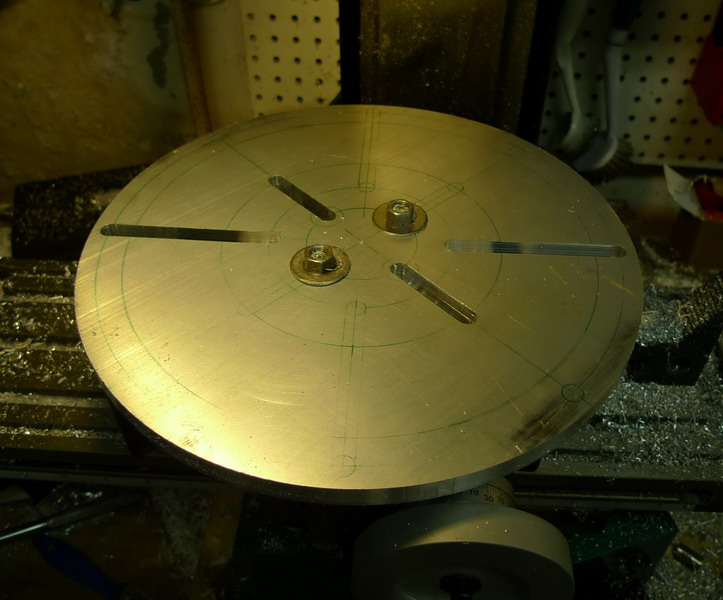
HOURS later. Two grooves. Thats enough for now. Now I see why I need to get a power feed mechanism ... or an assistant.
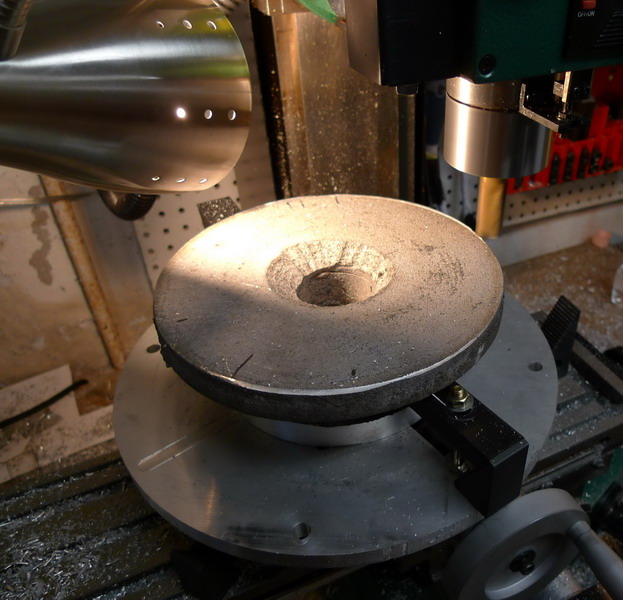
Ready to start on the hub
An assistant! Many thanks to Nick for helping out.
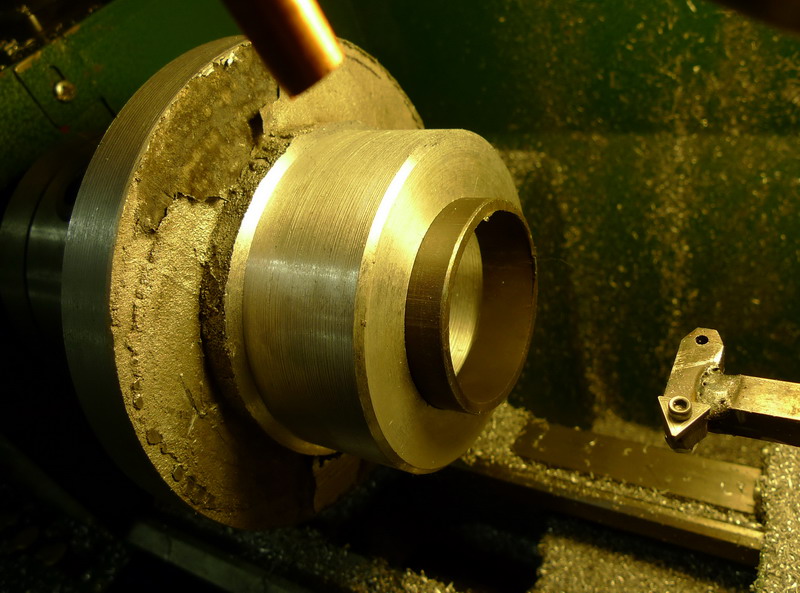
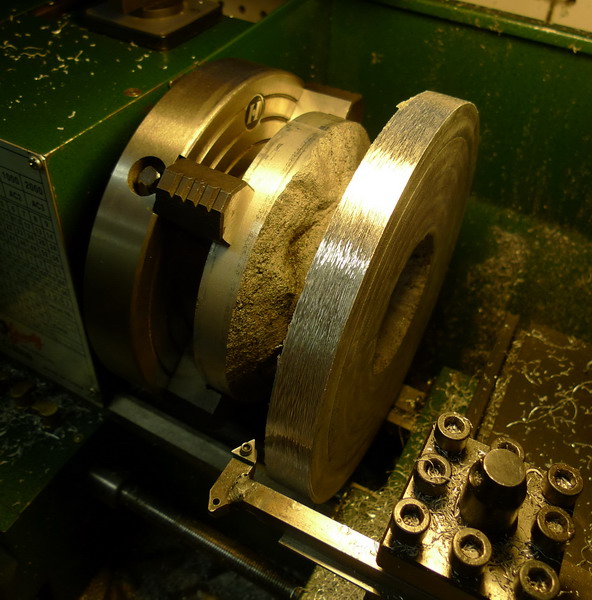
Turning the hub on the lathe, just barely fits.
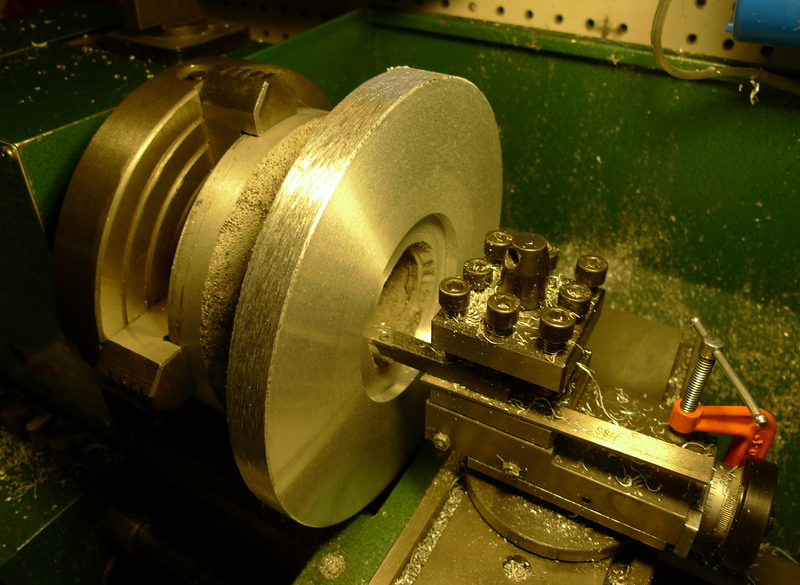
Boring the interior of the hub
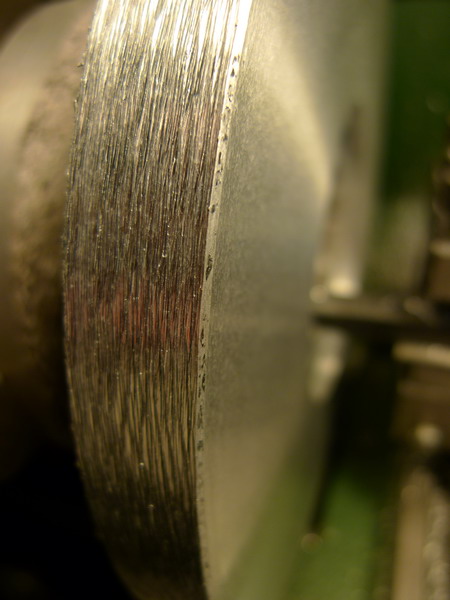
A closeup of the outer edge. Not great, but sufficient.
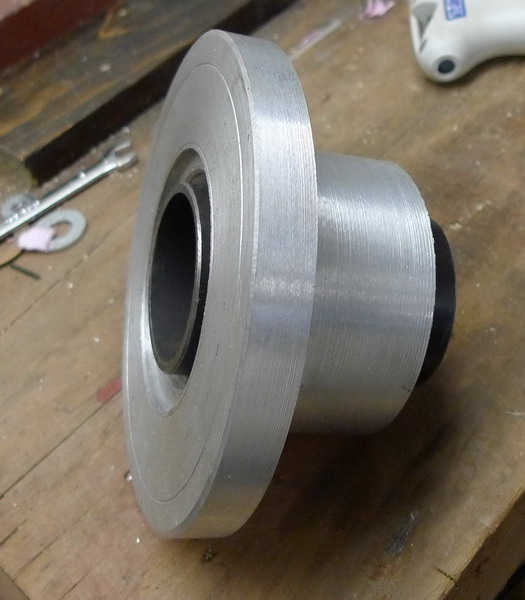
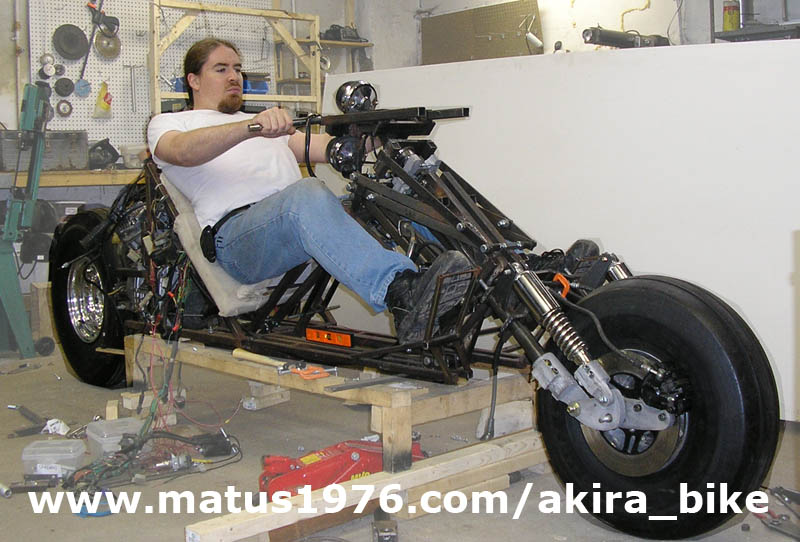
See the next update for the actual rear wheel mounting. A current progress image...
|
![]()
![]()
![]()