


![]()
![]()
![]()
![]()
![]()
![]()
![]()
![]()
![]()
![]()
- Update 08/12/2002-
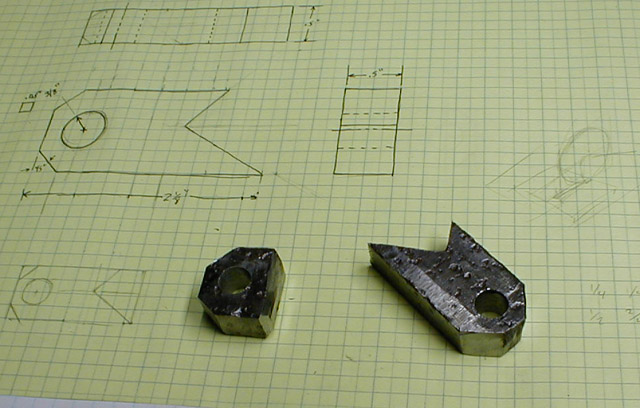
The completed lower front engine mounting brackets. These were made from .5 x 1 inch mild steel. The drilled hole is 3/8" diameter.
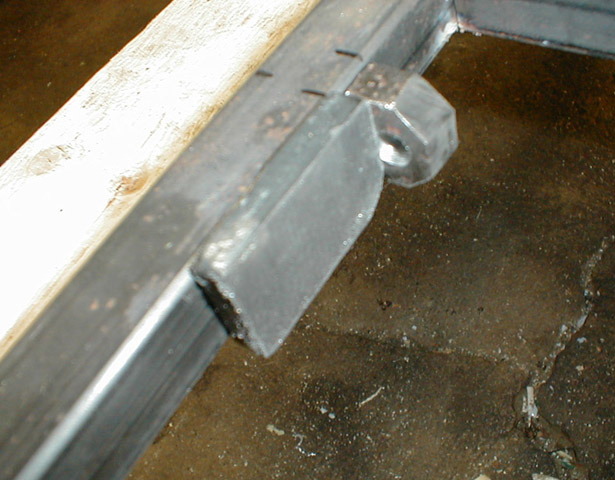
Holding the larger of the two mounting brackets, which will be on the right, up to the frame to see how it fits.
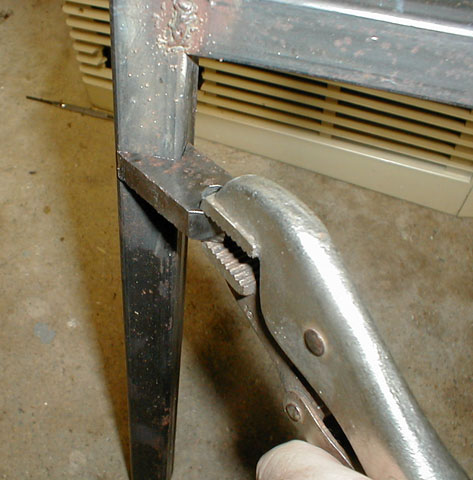
Getting the right hand bracket ready for spot welding. Ceramic magnets are wonderfull for this task.
Getting the left hand bracket ready with another magnet. These dimensions were checked and rechecked.
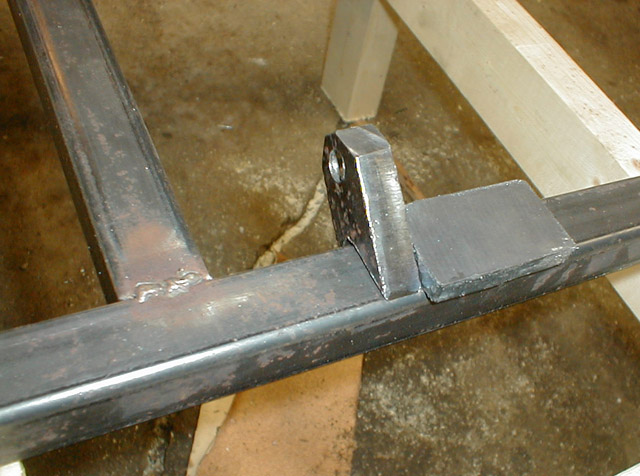
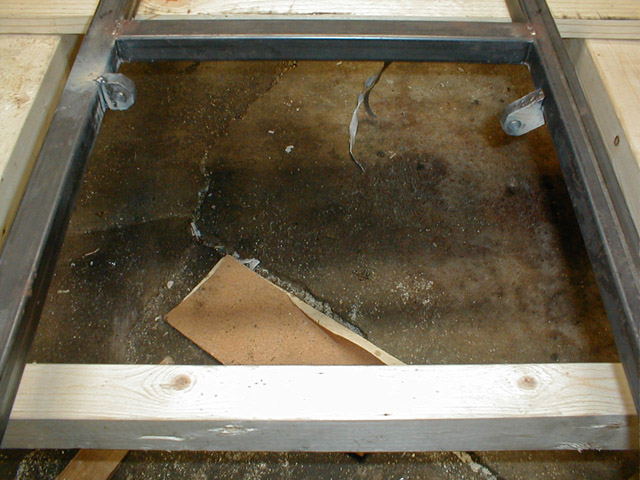
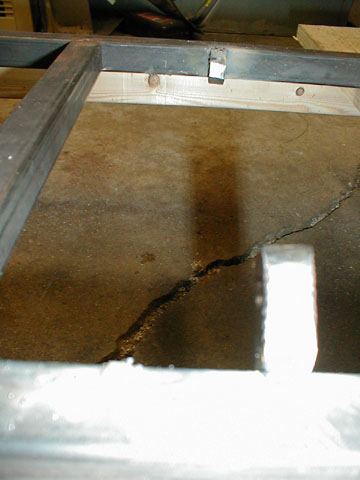
Both brackets are now spot welded into place.
Another view, with the frame flipped over.
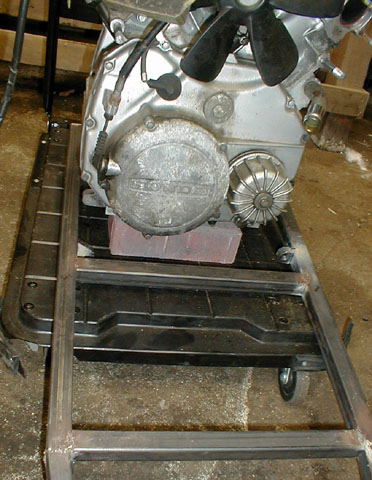
The engine here is being held up against the mounting brackets, notice them just behind the horizontal bar. The mounting point is visible on the engine just to the lower left of the clucth case which has the 'HONDA' label on it. It is a small protrusion that juts out.
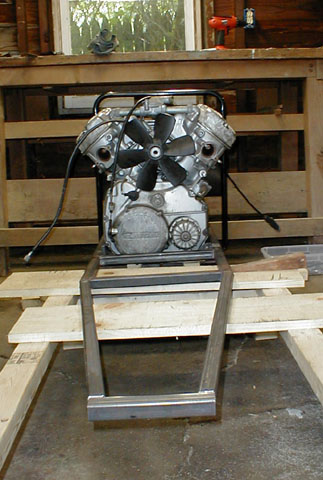
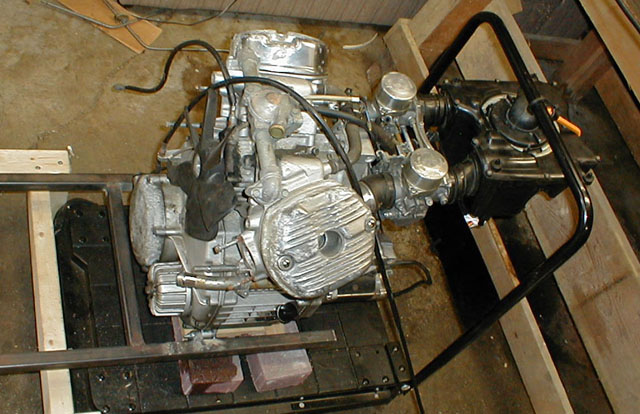
Another view of the engine waiting to be mounted.
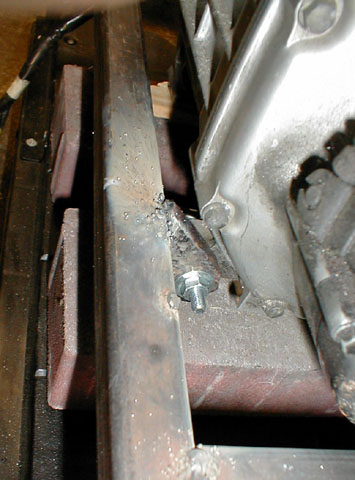
Moving the engine into place and bolting it to the spot welded bracket.
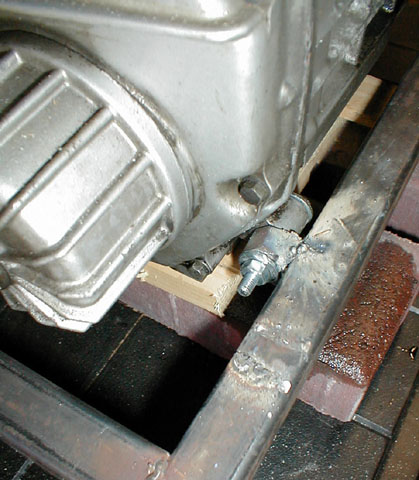
The opposite side.
Both sides are now bolted on. At this point I lifted the frame to make sure it lifted the engine with it. The brackets were only spot welded so far however, so I did not stress the connection very much.
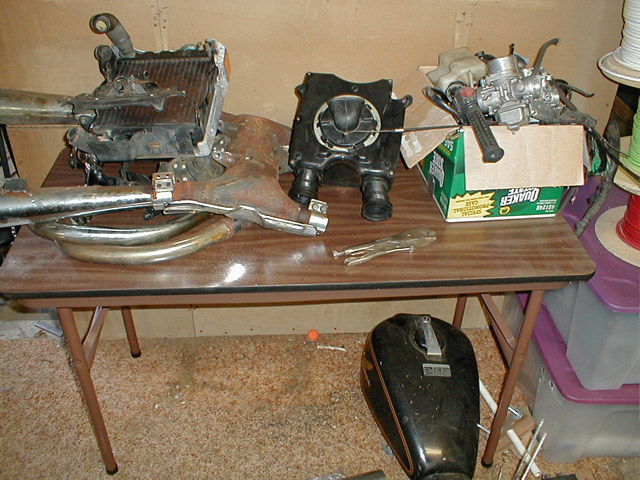
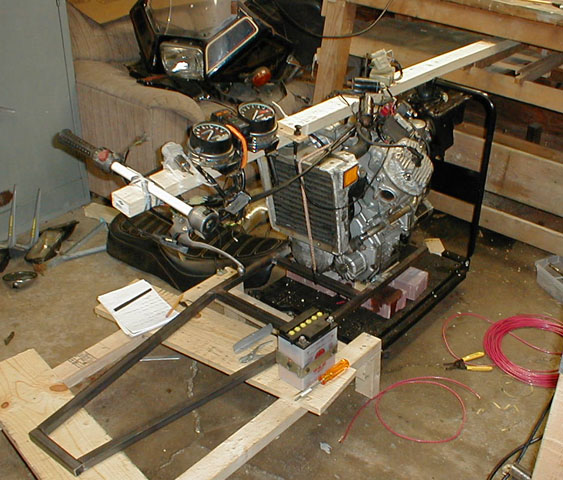
The remaining parts to be added. Roughly from left to right, the radiator, mufflers, airbox, down-pipes, and box o' stuff. The gas tank is below the table.
Here the carburettor and the airbox are both added.
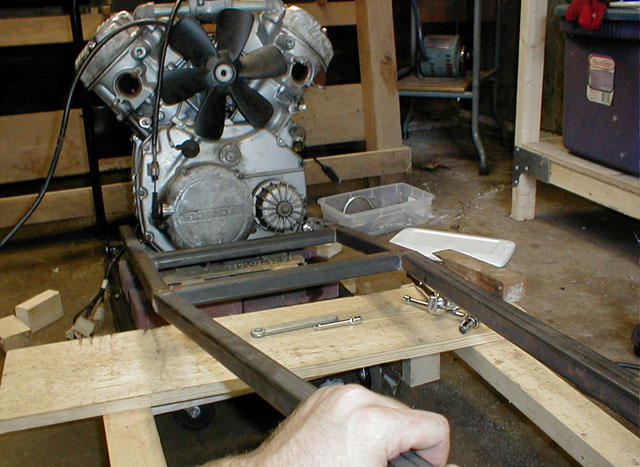
A 2x4 is suspended above the engine and the rest of the components are added. This step is just to verify the functionality of the engine. Once the engine is set, everything will be removed and construction will continue. - Matus - Back to Status - To Next Update - |
![]()
![]()
![]()